
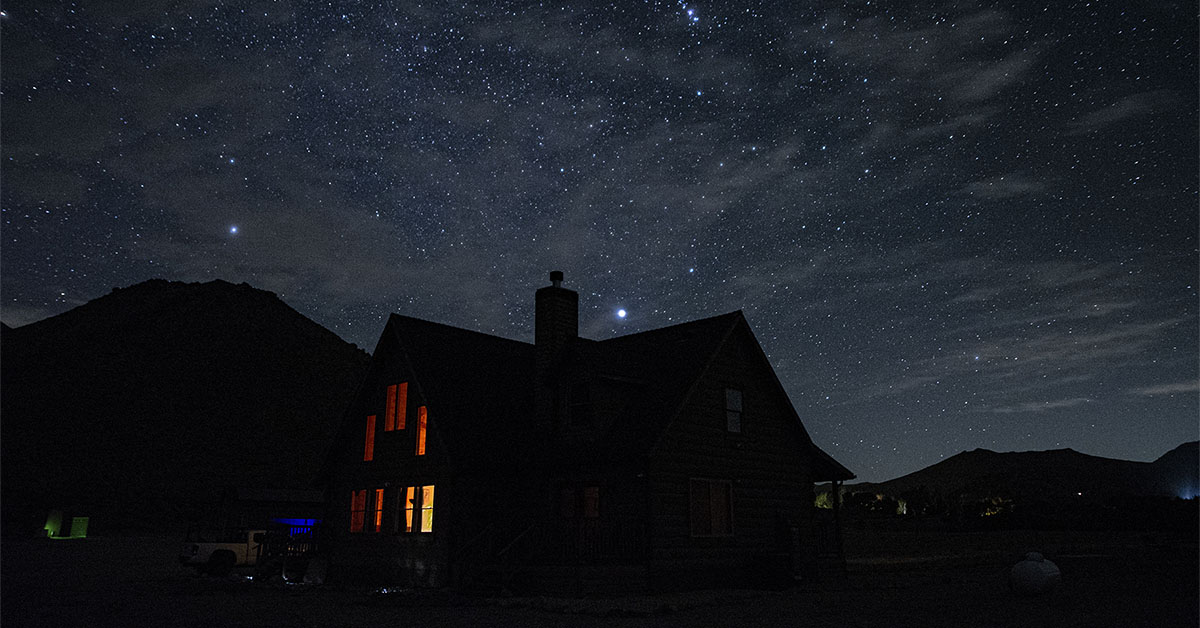
One of the nicest things about having jet lag at the Monkey Flower Ranch is that when waking up at 3am, there is always something to do – like taking a look outside and checking out the night skies.
Here are a few shots taken with my Nikon D5200 – 13 second exposures at 2500 iso, f/2 lens.
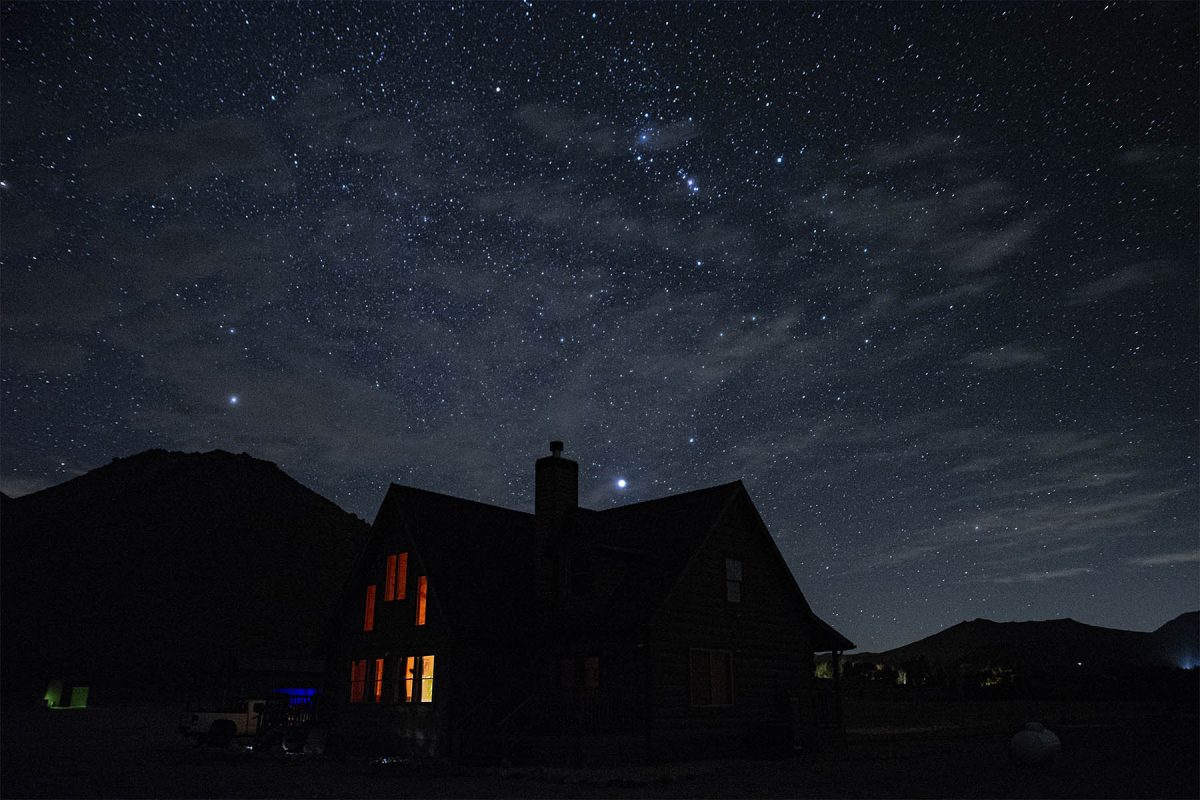
Out at the Monkey Flower Ranch – Cortez Canyon, Weldon California
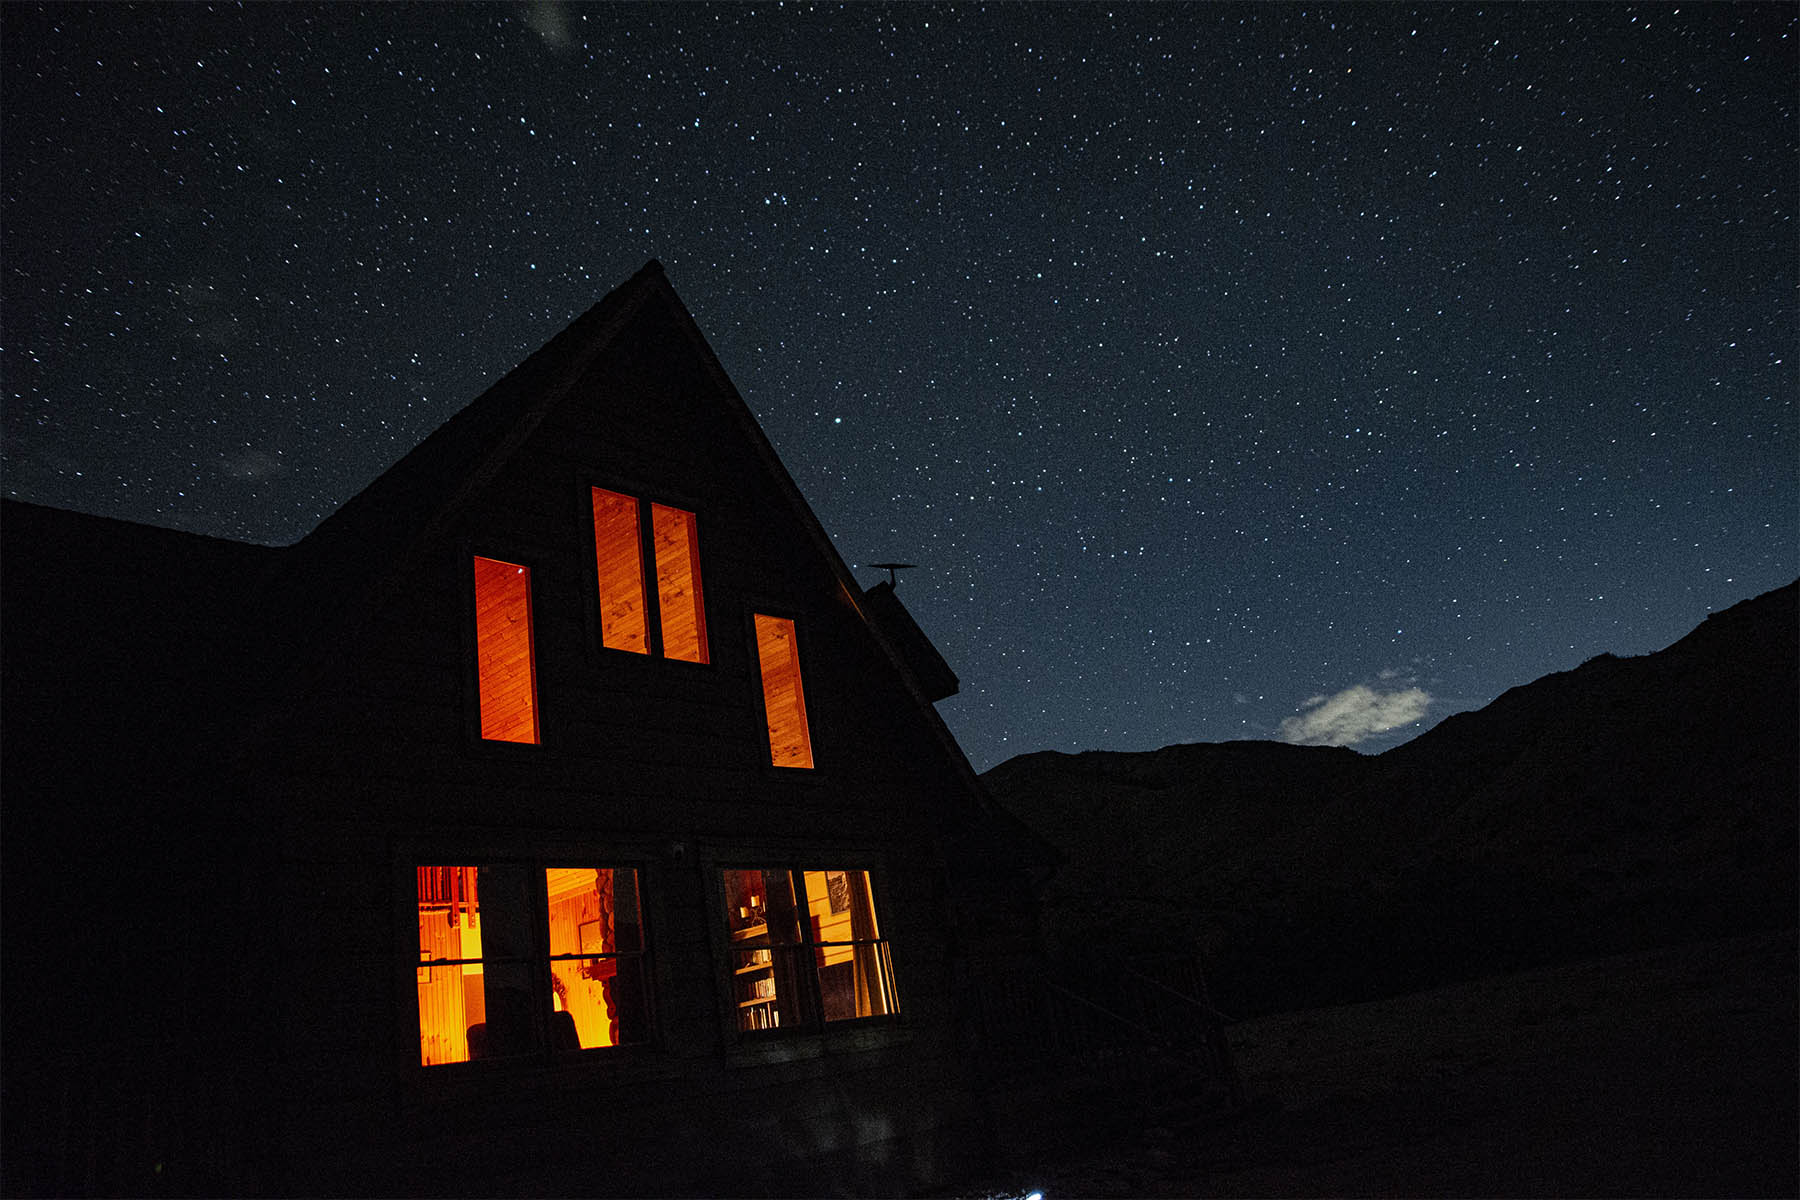
The early morning sky at the Monkey Flower Ranch – Cortez Canyon, Weldon California
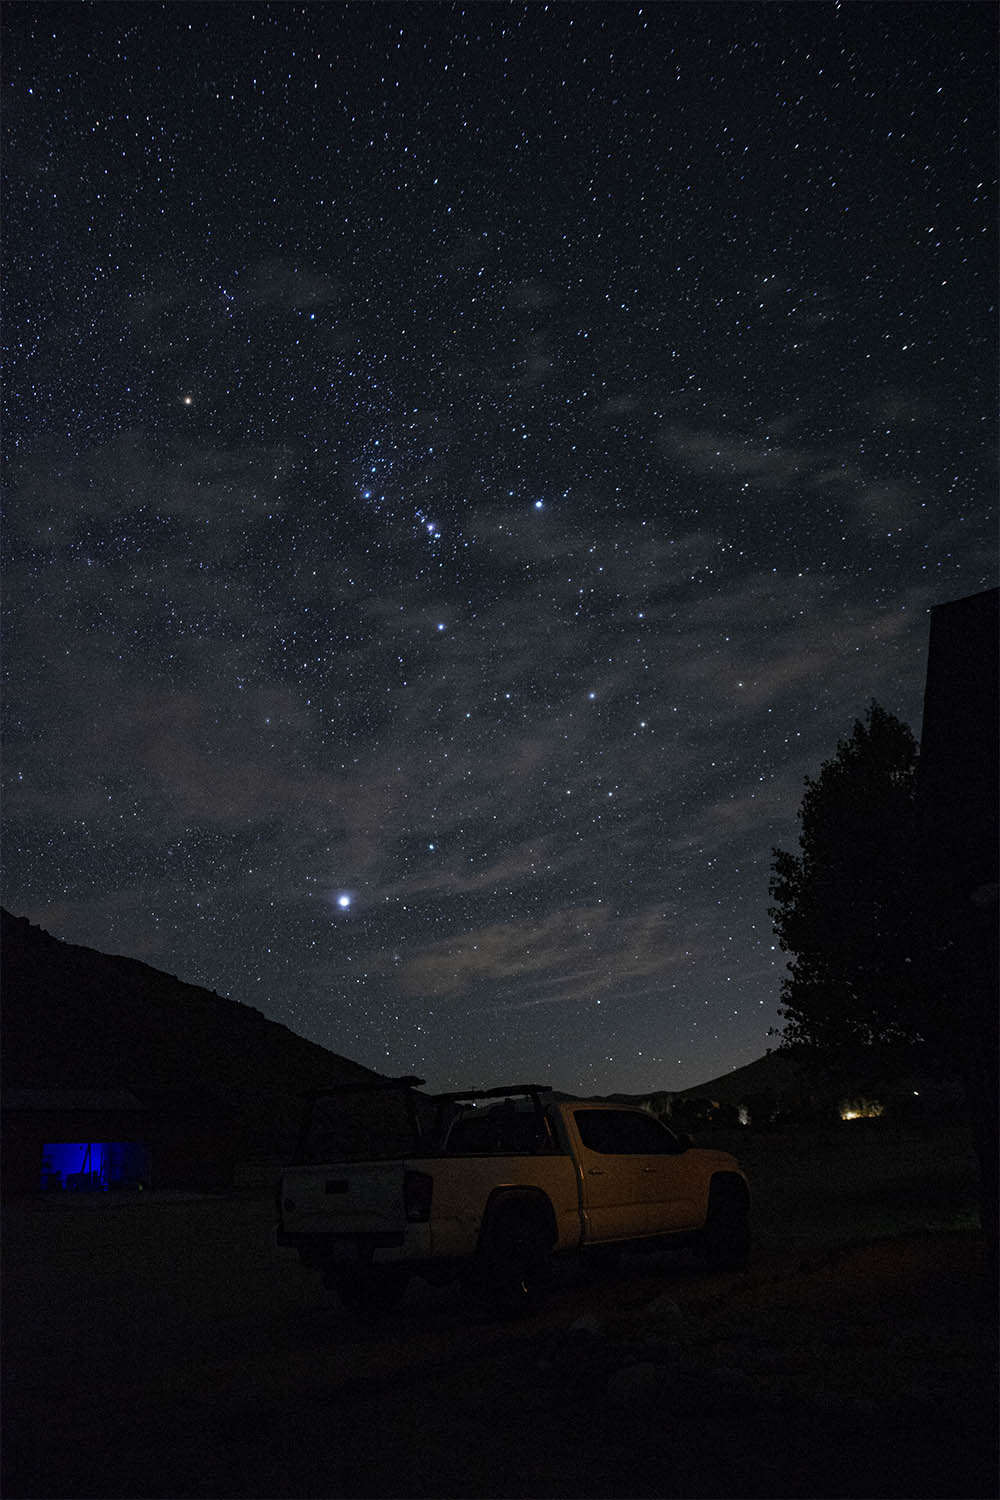
Nice shot of Orion in the wee hours at the MFR, Weldon CA
So how to get clear shots like this?
Well it is relatively easy. What you will need:
- A DLSR camera
- A tripod (duh)
- A fast lens
- remote timer
And this is what you will be doing:
- Sharp Focus
- Choosing the fastest lens speed/widest aperture
- Proper exposure time – no star trails
- Setting the ISO
For a digital DSLR camera (I use Nikons), use a lens which has a wide field of view. I use a Rokinon 16mm F/2 lens for most of my night sky shots (they have Nikon and Canon versions) . This lens is interchangeable with a full framed D850 or a crop sensor Nikon D5200. This is my go-to lens for night skies.
Number one on the to do list is proper focusing: turn on your live view and find a star you can focus on (ensure you are on manual focus NOT auto). Use your zoom function and focus on that star – it is usually a tad less than the infinity setting.
Once you are satisfied that you are properly in focus, it is time to check for star trails. Make sure you are at the fastest f/ stop, open the ISO to about 1000 and take some test shots at 13 secs down to 8 secs. Check your picts and zoom in to see if you notice any star trails – there is usually a sweet spot between 10 and 13 seconds – it depends on how wide an angle your lens is. Once you have a long exposure and your stars look like relative pinholes, you are ready to start shooting.
Find your subject, ensuring you haven’t messed with the focus. Take a shot with the ISO at 1000, then up it to 1200, then up it again, and again watching the live screen. These shots I posted above were at ISO 2500 which is about the max I will go – the higher the ISO, the higher the noise will be in the photo. You can find a balance with a compromise between the exposure time and ISO. Some of this can be dealt with in post production like Photoshop, but it is always satisfying to produce images without a lot of manipulation later.
Once you have all your setting squared away, start shooting for real (double check your focus!). Use a remote to avoid any camera shake. If no remote, then use your built in timer to avoid any shaking of the camera. If standing around your camera, ensure you freeze in place while making the shot. Any slight ground movement may have an effect on your tripod and how your photo takes shape.
Most importantly, have fun with this. Taking night shots is super easy once you get the hang of it, and understanding the dynamics of the movement of our planet and its relationship with the sky above is mind expanding.


